Techniques: A practical method or art applied to some particular task
Technicians: Someone known for high skill in some intellectual or artistic technique
As a lover of all things colourful I thought a nice place to start would be enameling. Enameling is the art of fusing glass to metal, used in combination with other jewellery techniques the possibilities of enamel seem limitless. One of my favourite books on enamling is The Art of Enameling by Linda Darty.
Three of my fellow jewellery artists on Etsy who also have a love of enamel have kindly shared with me some info about their creative process using enamel.
Jewelry by Natsuko
I began making jewelry over 10 years ago. From bead stringing to pearl knotting, wire wrapping… I tried many different techniques. But it was always with beads that I bought from somewhere. I wanted make beads and focal myself. I wanted my jewelry to be truly *ME* So I took polymer clay class at local art center.
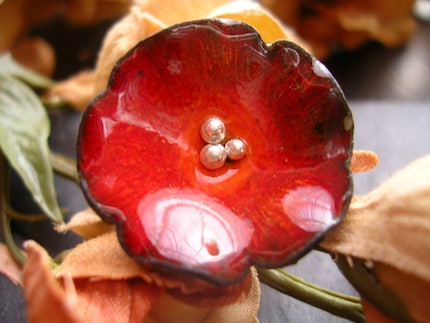
While it was fun to make stuff with polymer clay, I felt it really wasn’t for me. It’s just so hard to make finished product look nice & professional. So I moved onto enameling class and I was hooked! Why? I’d have say that because enameling gives you an instant graphication. And possibility of color combinations is endless.
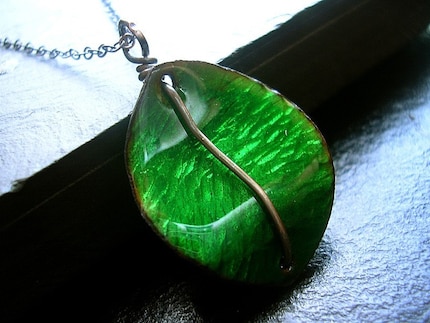
I never run out of new color combination that I want to try. And because enameling is applied over metal, I can enjoy the shapes & texture of the metal too! Although you can do many things with enameling, my focus is to make jewelry. And now I am taking a metal smith class to seek new ways to incorporate my enamel pieces into jewelry.
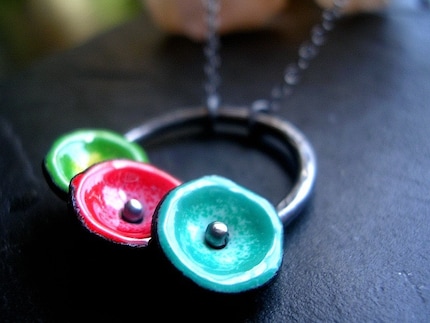
The Sour Hour
Inna Peck : The Sour Hour : Reversible Enamel Jewelry
I am from Ukraine, and have a BA in Printmaking and Fiber Art. Having a background in printmaking and an interest in Jewelry and metalworking, I took a screen printing enamel class and the teacher really set me up with a good understanding of how to utilize processes and layering techniques to achieve a range of effects.

I am really new to glass, so I I am still trying to learn its capabilities and limitation through taking flame working and fusing classes. With my jewelry I try to use and layer patterns that reference traditional folk art designs but have a contemporary simplicity. I recently received two separate scholarships, one in engraving , and one in glass. I imagine that both of them will significantly change and improve my approach in the near future.
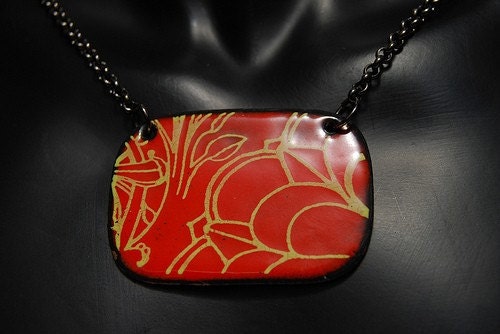
Currently my work is primarily opaque glass, but in the near future I hope to incorporate more engraving, transparent enamels and more complex shapes.

RMD jewellery
I discovered jewellery making a few years ago when my daughter started school, initially I was self taught in beaded jewellery making with a desire to move into metalworking. In 2008 I started attending workshops and weekend classes on silver smithing. In 2009 I attended a Goldsmith School in Brisbane one night a week and am currently continuing that training one full day at a Goldsmith School in Sydney since we moved here in Dec.
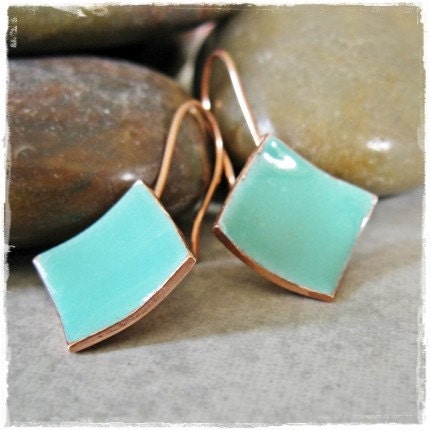
I discovered enamelling in Dec last year when I was looking at ways to add colour to my jewellery without the cost of stones, I was and still am, fairly hesitant to buy and set expensive stones as a beginner. I came across an article on torch firing enamel and found a great Aussie site that sold enamels in small quantities, enough for a trial of torch firing. I spent nearly 4 months testing and trialling torch firing enamels before successfully creating a gorgeously simple pair of drop earrings and from there the obsession began. A few months ago I purchased a microwave kiln which mimics the behaviour of a larger kiln but on a small scale.
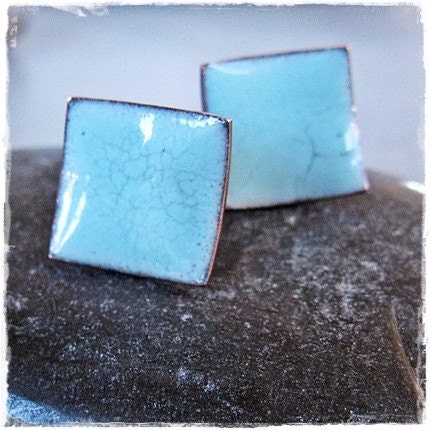
I love working with metal and adding colour. Watching the enamels glow when they melt and seeing the lovely effects that can be achieved, each piece is an enigma and no matter how many times you work with a design or a colour, enamels always surprise you with their results. I love that, makes each piece, even the repeated designs, unique in their own way.
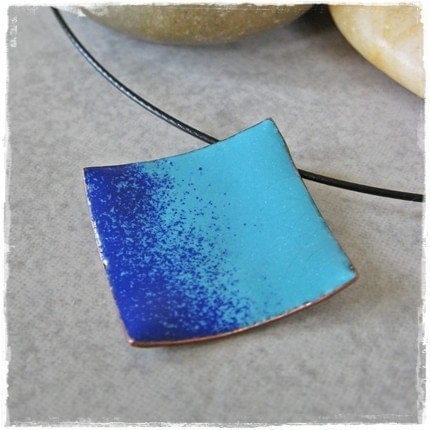
Aussie readers can check out Rachel's newer work at Shop Handmade in Canberra and Incub8r in Brisbane.
Thanks to Natsuko, Inna and Rachel for taking the time to share their enamel experiences with me, so that I could share them with you...


