Showing posts with label jewellery. Show all posts

Friday, January 7, 2011

Time and Energy

My jewellery has been very much neglected of late. I rarely have the time to work on jewellery, and if I do have some time, I NEVER have the energy.

Today is one of those rare days where all the elements aligned...

I had some inspiration, I have been working on the designs for these two pieces for a while so I knew exactly what I wanted to achieve and how I planned on doing it. Having a plan is great as no time is wasted, and by tag teaming two pieces I can spend every moment being productive.


More uncommonly, I had time! Fridays are normally a flurry of activity with play dates and errands, however today was a free day. Miss 10 months had a nice long sleep in mum and dad's bed (I don't know why but this little lady has the best sleeps in a queen sized bed). And my hubby had the day off too so he was about to keep Mr 3 busy.


And most rare of all, I had some energy! Just some mind you, once the afternoon heat really kicked in I had to call it a day, which is why these are works in progress rather than completed pieces. But I think seeing them come together will give me the energy to continue on.


I have a whole stash of stones ready and waiting, I hope this momentum continues ;)

Friday, October 15, 2010

Salvage Operation

Things don't always go to plan, sometimes they melt or collapse or just aren't quite right.

Last year I was working on a ring with a princess cut amethyst, everything was going perfectly... until... late in the afternoon in a rush to get finished I was too impatient and cracked the stone while trying get it to drop into the setting.

Yes we have these setbacks, and while it is very disappointing, all is not lost. If you can still salvage the piece it is a wonderful thing. In this case the ring and setting were fine, so it was just a matter of waiting until I bought new stones and trying to source another stone to fit.

Fast forward to a year later and I had cause to place an order for gemstones. Luckily I remembered to check the princess cut stones of aproximately 5mm square.

So finally... the Knife Edge Ring gets to see the light of day, with a lovely princess cut peridot.

Friday, September 17, 2010

Techniques and Technicians - Wire Wrapping

Wire wrapping is a technique that involves the use of tools such as pliers, mandrels, vices and hammers to bend, twist, bind and forge. The intricate patterns and shapes are achieved without the use of solder.

I am drawn to the rather romantic and ornate designs that people achieve with this technique. As with other jewellery techniques, people who practise wire wrapping develop their own distinctive styles achieving varied and unique results.

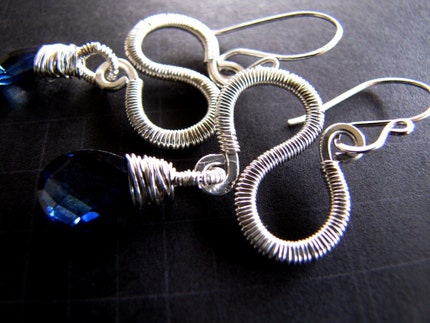
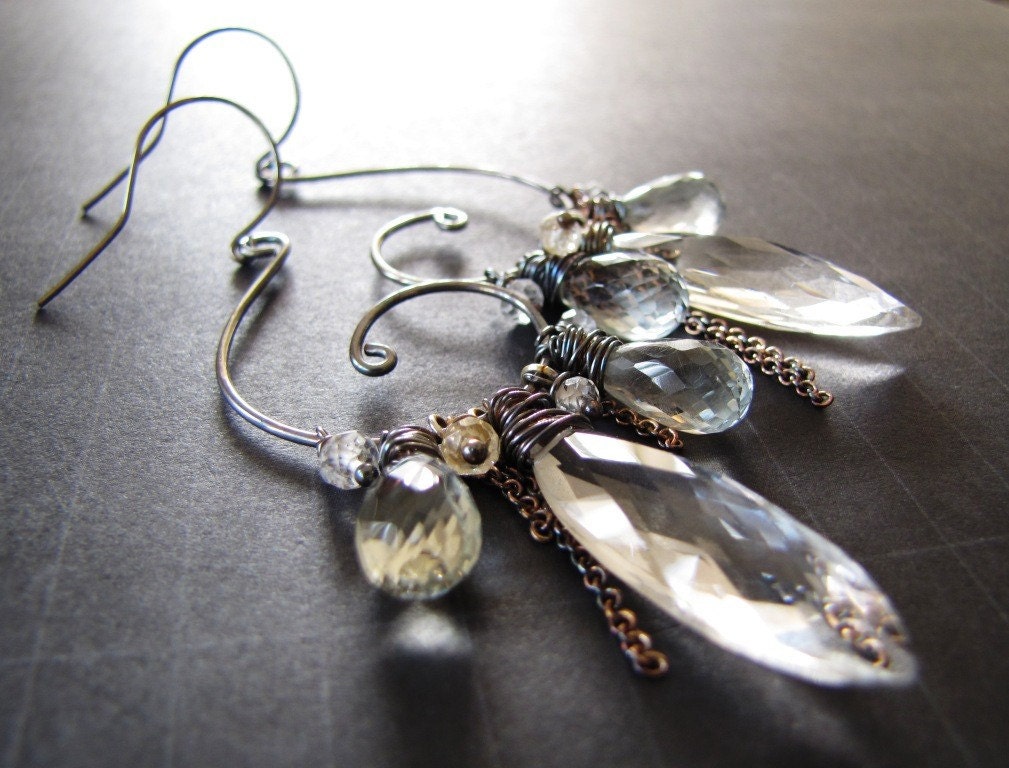
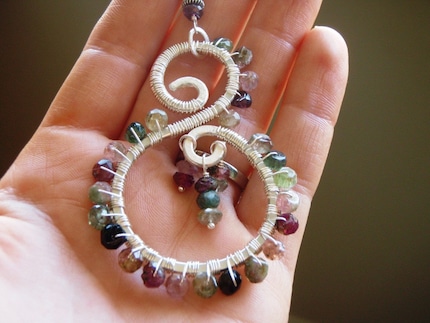
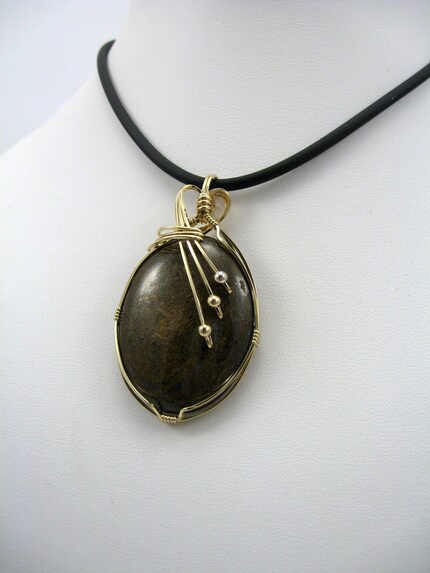
Three of my fellow jewellery artists on Etsy have kindly shared with me some info about their creative process using wire wrapping.


Angelene


I love wire wrapping. It's mesmerising. The feeling when a large piece has been completed is one of achievement (and sore fingers!). My wrapping style definitely reflects my personality - measured, careful and meticulous.


I first started wrapping unhammered wire for a pair of long drop earrings - because I hadn't hammered the wire first it was not hard enough and so after wrapping the whole length it bent, and ruined the pair of earrings. An expensive mistake that I haven't repeated! Gradually my wrapping has become more precise, and I can wrap in small spaces (such as the top of a loop of a wrapped briolette gem) which gives a neat but detailed finish to my work.


RiverGum Jewellery

I discovered beading one afternoon when my niece arrived from Perth with a few beads, headpins and ear wires. I then did a short two-hour course at the local bead shop learning how to shape eye pins and link beads together to form a necklace and earrings.

I was hooked right from the beginning. That was 7 years ago!


I actually don’t remember where I saw wire wrapping for the first time but I learnt my basic techniques from various tutorials on the net and in books and magazines. I soon left them behind as I developed my own style.


It took a long time to understand the wire itself – the descriptive words of gauge, hardness, square and half round etc, were like a foreign language to begin with.

And now it seems intuitive. First I choose a gemstone to work with and an idea begins to evolve. Instinctively I decide which wire to use – half hard or dead soft. I love the feel of the wire in my hands. It’s almost as if it forms itself rather than me deciding the look I want. I love the adrenalin rush as the piece begins to take shape and I wonder if it will come together in the end. Some of my best work has been when I needed to resurrect what I thought was a disaster!


And of course there is the joy at the end when a customer is drawn to a piece, reads about the particular gemstone and exclaims “that’s just what I need in my life right now!”


Realisation Creations

I loved using wire the minute I started experimenting with it. My first wire wrapped pieces were extremely simple, but as I started to push myself creatively, I started realising that instead of beads being the components, and the wire just being the connective material, that wire wrapped with beads could form an independent component.


I love the texture created when using wire - whether wrapping over another gauge of wire, or creating teensy charms - it's fascinating to me that such an industrial plain looking material can be converted to something so tactile!


I suppose my style of jewellery is quite Victoriana, and a little bit gothic. My love of Tim Burton, period dramas, and historical fiction certainly leads me in that direction! But I am a little like a hummingbird, flitting from genre to genre in search of inspiration.

Wednesday, August 11, 2010

Chase the sun

Last week I showed you my new frangipani earrings which were a precursor to a special order.

Today I am happy to be able to show you the main event so to speak.


I still find it incredibly difficult to capture the true beauty of such stones, I think they are much more fabulous in real life.


These frangipani earrings with claw set peony pink topaz are already on their way to a good home. But if you are interested in a custom creation of your own don't hesitate to contact me.

Thursday, June 24, 2010

The next big thing... I mean ring

My next big ring project is very big indeed, 6.3 carats in fact!


I actually started work on the setting for this gorgeous cushion cut purple and yellow Amatrine a couple of weeks ago. But the result was a bit too flimsy and not what I had envisaged for this fabulous stone.


So it was back to the drawing board, or in my case the sketch book, to better resolve the design.

The idea is still developing, so not sure if I will start on this one just yet or give the ideas another week to stew. Either way, I hope to have a fabulous extravagent cocktail ring featuring this gorgeous stone to show you in the not too distant future.


In the meantime I hope to make a couple of pairs of fun enamel studs this weekend. Looking at what colours are dominating my Etsy store right now, and in the interests of diversity, I'm thinking green and black this time. Or maybe black and white... What colours would you like to see more of?

Sunday, June 20, 2010

The peppermint crisp journey

It was all the way back in October 2009 that I first started work on the peppermint crisp ring.

It took me a long time to decide how I wanted to make the setting. I had in my head how I wanted it to look from above, but how to achieve that...?


So I went ahead and make the ring and the first half of the setting with the V shaped base. Then I tinkered, and I filed, and I uhmed and ahhed. I put it away and worked on other pieces. Then I'd take it out, look at it, and put it away again.


Then some time a few months ago I started to formulate an idea. I decided to drill through either side of the ring shank beside the V setting and push two pieces of wire through, these would support the stone from either side. I contemplated this idea for some time.


Last weekend I started work on a new piece. I was in such a hurry to finish something, anything! I rushed ahead without fully thinking through my design and the setting collapsed while I was soldering it. It was then I decided I had thought about the peppermint crisp for long enough. It was time for action!


The peppermint crisp ring is finished! And it is available now in my Etsy store.

Saturday, June 12, 2010

Autumn inspiration


Ok, so technically it is winter now, but our beautiful little Japanese Maple in the backyard is still wearing it's autumn colours with pride.


It just looks so bright and happy, I never tire of looking at it.


To top it off it was a beautiful sunny day, and my mokume gane & fire opal ring is on its way to a new home in the USA.


And finally I got to spend a little time in the workshop. My peppermint crisp ring is very close to completion, I just need to finish the setting and then set the ring and polish it up. Here's a sneak peak with the stone just sitting in the incomplete setting.


My head is full of ideas for some new pieces, must get them into my sketch book as my baby brain means that those idea may float off to the ether again! Hopefully I will get a bit more time this weekend to do some more.

Tuesday, January 26, 2010

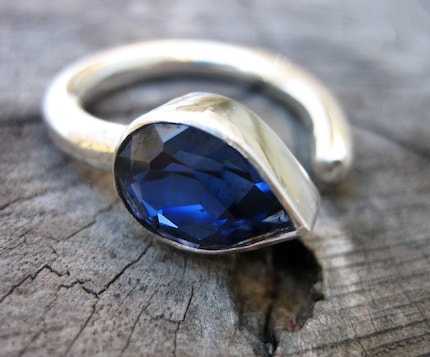
New in store - Rain Drop Ring

Just finished today, my Rain Drop ring is sterling silver with a tear drop shaped sapphire blue cubic zirconia.


Break the drought with the Rain Drop available now in my Etsy store.

Saturday, December 5, 2009

Upsy Daisy

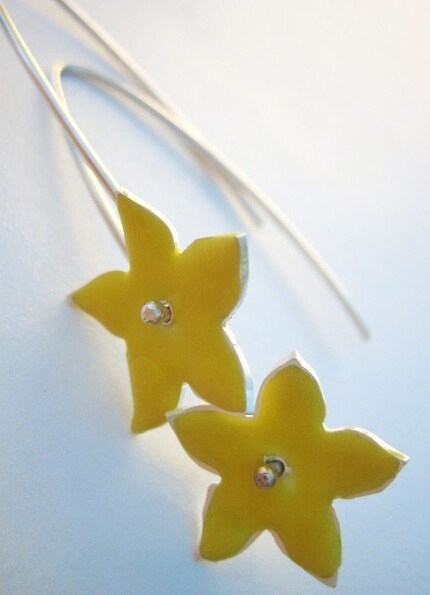
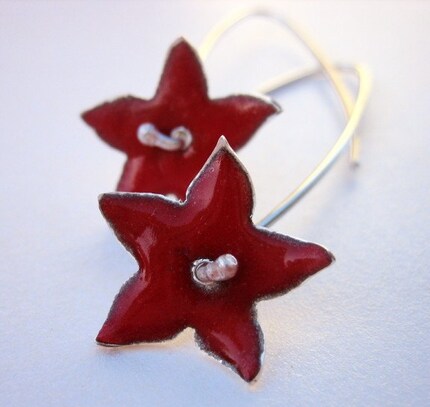
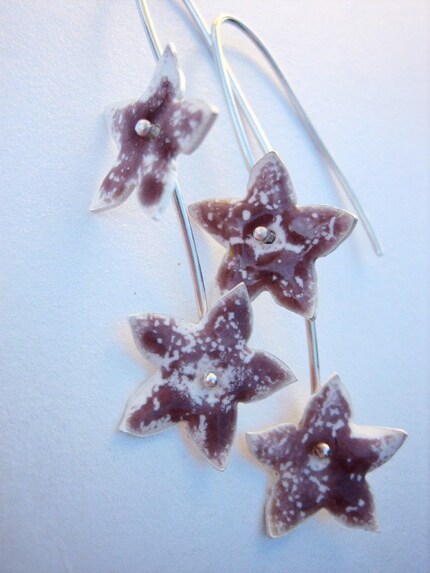
As promised I have been busy working on some new daisy pieces and have three pretty new pairs of earrings to show you. All sterling silver with torch fired enamel.

Daisy Drop Earrings in buttercup yellow


Daisy Drop Earrings in flame red


Daisy Chain Earrings in white and transparent rose purple


I have many other enamel colours so if you would like similar errings in a different colour combination just drop me a line via my Etsy store.

Tuesday, November 10, 2009

Art Deco Inspired

It has been on the backburner for a little while, but I have finally had the time (and the silver) to continue on with my Art Deco starburst/snowflake inspired Topaz pendant. I first introduced you to this pendant in September when I made the bezel setting.

I have now transferred the design which my hubby tidied up for me to the silver and saw pierced the design.


As much as hubby would like me to have stopped at this point, a sterling silver 'ninja star', I had other ideas!


The following image shows the components layered together and the scale, as you can see this is a pretty sizable piece, it will be a real statement piece of jewellery when completed.


After cutting down the bezel to the correct height it was time to place and solder it.


Due to the volume of silver in the piece it took a considerable amount of time to solder. If any part of the piece is allowed to cool the heat quickly dissipates preventing the solder from running.


Now it needs to be tidied up and the bail attached...

Sunday, November 8, 2009

A grand unveiling - enamel ring #1

Hooray, this weekend has been most productive (and we still have a few hours of sunlight!). I am very happy to be able to show you the first of my enamel pieces.

I have called this ring "Full Bloom" as it is reminiscent of the big bold roses in my front garden right now.


This ring involved a bit of experimentation, and a fair bit of luck ;) I started by first constructing the ring.


In some of my enamel test pieces I found the enamel was cracking. I had a theory that this was because I was allowing it to cool too quickly. As I had not yet perfected the torch fired enamelling and was moving on to trickier pieces with solder joins I did some extra reading. A tip that I picked up was to anneal and pickel the piece at least three times, this will prevent any potential movement left in the metal and also protect the solder from running again (hopefully!).


After annealing I cleaned the inner dome with a brass brush and let it air dry, this was to prevent any oils from my fingers contaminating the surface. I 'wet packed' the flame red enamel so that I could get it to sit up the walls of the dome.


After allowing the red enamel to dry for a couple of hours I added the dry buttercup yellow enamel.


Time then to cross my fingers and fire. I am really happy with the end result, it is available now on Etsy. Keep your eyes out in the coming weeks for some new enamel pieces in a fab range of colours.

Sunday, October 18, 2009

At last, a finished piece!

Finally, after weeks and weeks of work in progress, I have actually got a finished piece to show. And it is not one of the works in progress I have previously shown you!


I would like to introduce the Serpent Bracelet.


In 2006 while studying I did some snake scale inspired press forming. The pieces were put together in a glo-mesh style configuration. While I loved the look, the overall construction was flimsy. I decided to put my 'snake skin' into the partial box for later use.


The sample has been given new life as often happens. They sit in the 'partials' box waiting for inspiration to strike. The tabs have been removed and each scale is now joined with a jump ring.


The surface of the soldered bracelet has been brushed with a brass brush to give a soft finish. Then the whole piece has been very lightly oxidised, just enough to give the fabulous range of colour you can see pictured.


The Serpent Bracelet is available now in my Etsy store.

Sunday, October 11, 2009

Peppermint Crisp - A new work in progress

I had a couple of setbacks this weekend which has resulted in me putting aside the pieces I was currently working on and starting a brand new one. I generally like to have a few pieces on the go, but hopefully I may get to finish something before I start anything else!

The topaz pendant I had planned to work on this weekend will hopefully get back in motion next weekend, after I pick up some more silver. The piece I had planned to use was not quite big enough. Sadly the sqaure cut amethyst that was to go in the knife edge ring met an unfortunate end, I will need to put that one on hold until I order some new stones.

So on to the new piece! This one had a name from the moment I started, inspired by the gorgeous octagon cut 1 carat green tourmaline I am using.


It reminds me of those crispy mint pieces you get in some chocolate bars, mmm chocolate...


This one will be paired with a nice solid sterling silver ring with champhered edges reflecting the cut of the stone.


It will be set in a nice little basket which I am yet to make.